TRON multisig in USDT Wallet

TRON USDT multisig: shared control on-chain

On TRON, a multi-signature wallet is implemented directly at the protocol level through Account Permission Management. Instead of one key having full control, you define an M-of-N rule: for example, 2 of 3 cosigner addresses must approve each outgoing transaction.

  • N — total number of TRON addresses (cosigners) you list.
  • M — how many of those must sign to spend.
  • Each cosigner controls their own address in their own wallet or device.
  • The TRON network enforces the rule; the app just helps you configure it.
Risk model
One key lost funds lost
Network
Native TRON permissions
Upfront cost
~100 TRX one-time fee
TRON MULTISIG SETUP · STEP BY STEP

Create a TRON USDT multisig wallet in 5 steps

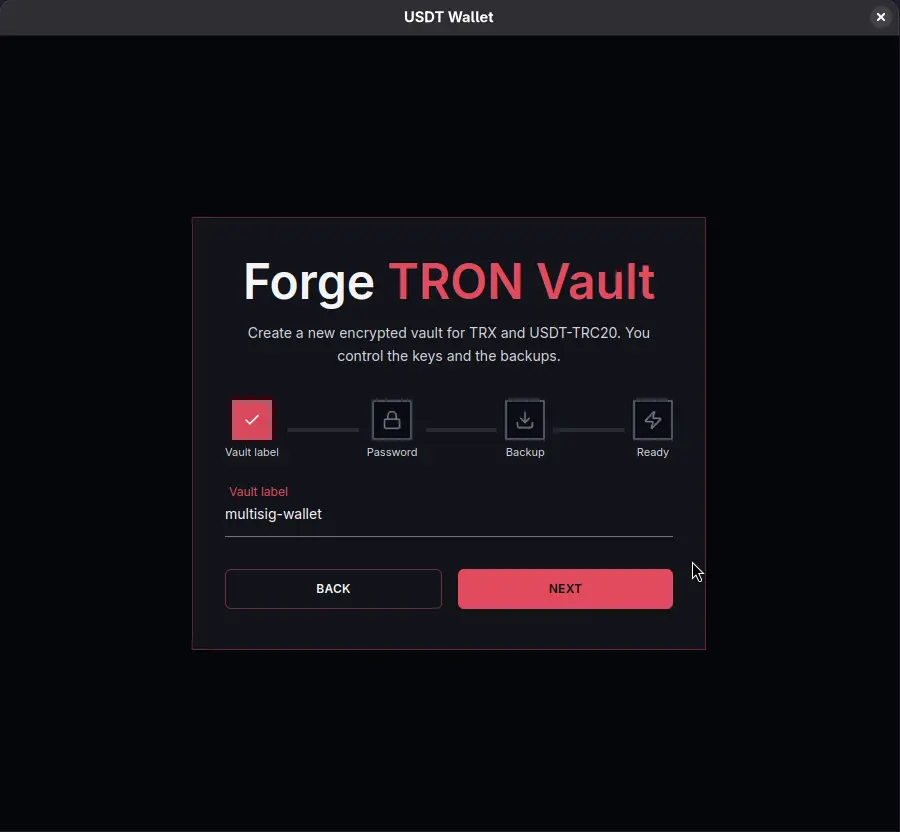
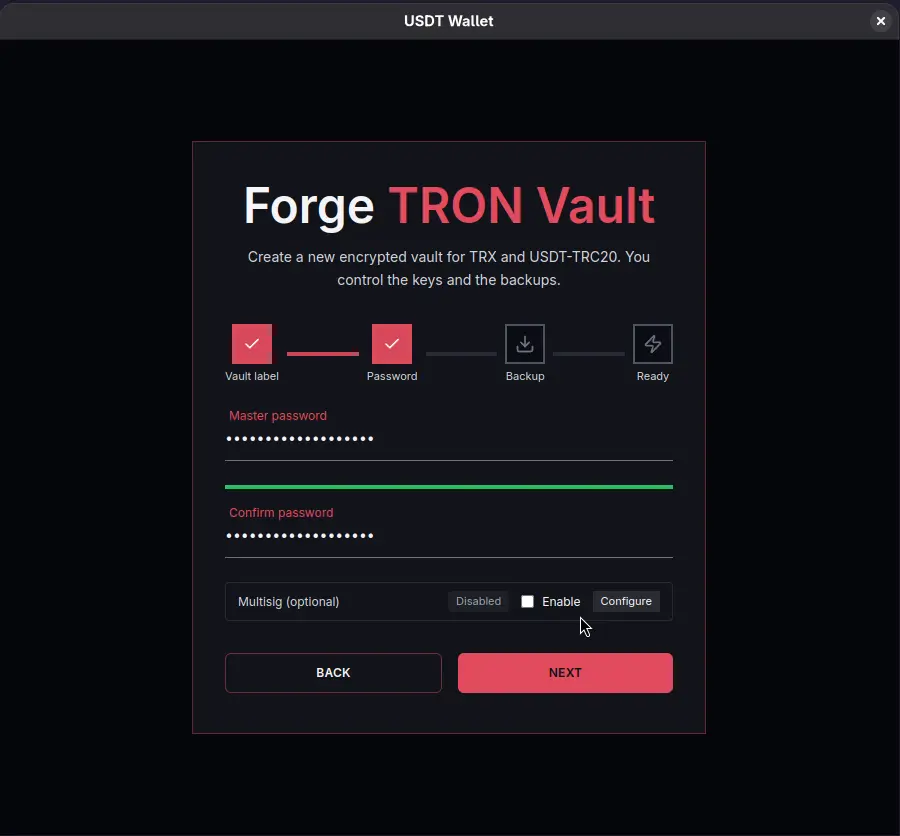
You start on the coordinator’s machine, choose a name, set a local password, define TRON cosigner addresses and finally activate multisig on-chain with a one-time TRX fee.

  1. 1

    Create a new TRON wallet and give it a clear name

    1. Install and open USDT Wallet on your desktop.
    2. On the left, go to the Wallets section.
    3. Click New wallet and choose the TRON network.
    4. Enter a descriptive name, for example “TRON USDT Treasury (Multisig)”.
    5. Confirm and move to the next step when the wallet is created.
    Dialog for creating a new TRON wallet and naming it
    A clear name helps everyone recognize that this address is a shared TRON multisig wallet, not a personal one.
  2. 2

    Set a local password to unlock the wallet

    1. When prompted, choose a strong password for this desktop installation.
    2. This password only encrypts your wallet data on this machine — it is never sent to TRON or to our servers.
    3. Use a unique passphrase you don’t reuse elsewhere and store it in a password manager or another safe place.
    4. Confirm the password; you will use it each time you unlock USDT Wallet on this device.
    Local password dialog for encrypting and unlocking the wallet
    This password protects local access to the wallet; it does not change any on-chain TRON permissions.
  3. 3

    Add cosigner addresses and define the TRON multisig rule

    TRON multisig in USDT Wallet is built on top of TRON’s Account Permission Management. In this step you turn your active permission into an M-of-N rule across the addresses you enter.

    1. In the wallet, open the TRON address you just created and go to the Multisig / Permissions screen.
    2. Set how many signatures are required (M) and how many total cosigners (N) you will have — for example, 2 of 3.
    3. In the table below, paste the TRON addresses of your co-signers (people or devices that will approve transactions).
    4. Double-check that every address is correct; a typo here means that key can never sign for this multisig.
    5. Review the summary: account, M-of-N rule and the list of all cosigner addresses, then save the configuration.

    Under the hood, this replaces the default active permission with an M-of-N permission set tied to the cosigner addresses you define here.

    TRON Account Permission screen with M-of-N active permission and cosigner addresses
    After activation, outgoing transactions will use this multisig active permission instead of a single private key.
  4. 4

    Fund the address with ~100 TRX and activate multisig on-chain

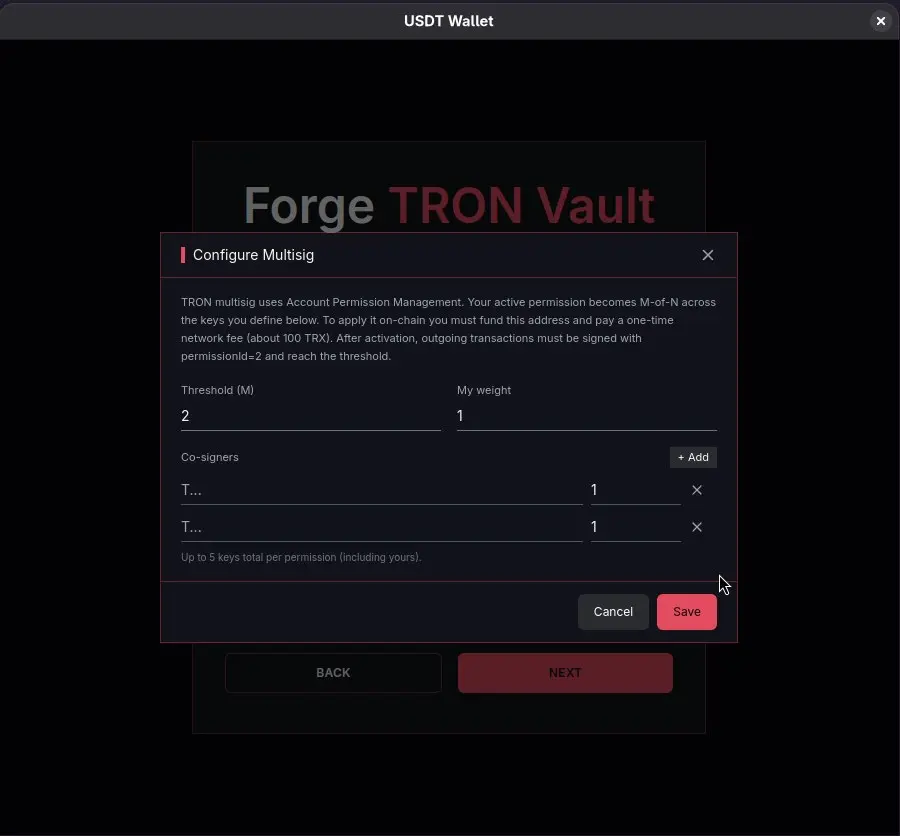
    To apply your new permissions on the TRON blockchain, the account must pay a one-time network fee for the Update Account Permission transaction.

    1. From an existing TRON wallet, send around 100 TRX to this new multisig address (keep a small buffer if you plan to edit permissions later).
    2. Back in USDT Wallet, review the multisig / permissions screen and confirm the activation transaction when the app asks you to apply changes on-chain.
    3. Wait for the TRON network to confirm the permission update. The TRX you funded with will be used to pay the one-time fee; any remainder stays on the address.
    4. Once confirmed, the account’s active permission is now enforced as an M-of-N rule by the TRON protocol itself.

    After this step, regular outgoing transactions must be authorized under the new active permission (internally, TRON uses permissionId = 2) and reach the signature threshold.

  5. 5

    Use the activated TRON multisig wallet for USDT transfers

    1. Deposit USDT on TRON (TRC-20) to this multisig address as you normally would.
    2. When you click Send from this wallet, the app prepares a transaction that must be signed according to your M-of-N rule.
    3. Each cosigner approves the transaction from the wallet or device that controls their TRON address.
    4. Once enough signatures are collected, the transaction is broadcast and accepted by the TRON network.
    5. If you later need to change cosigners or thresholds, repeat the permissions update flow (and keep some TRX on the address for those updates).

    Day-to-day, you use this wallet like any other TRON USDT address, with one crucial difference: no single key can move funds alone.

Download USDT Wallet Desktop

Install the latest desktop build, then follow the multisig guide above on every cosigner’s machine.

Stable v3.4.2 • Oct 14, 2025
Operating system

Recommended for your system

Windows 10+ (x64)

EXE • 78 MB • v3.4.2

Desktop

We auto-detect your OS in the browser. Prefer a different build? Pick one below.

Other builds

Windows

EXE • 78 MB • v3.4.2

Windows
  • Windows 10+ (x64)
  • Installer with auto-updates
  • Signed & reproducible build

macOS

DMG • 74 MB • v3.4.2

macOS
  • macOS 12+ (Monterey)
  • Apple Silicon & Intel
  • Notarized & sandboxed

Linux

AppImage • 76 MB • v3.4.2

Linux
  • glibc 2.31+, x86_64
  • AppImage (portable)
  • DEB / other packages — coming soon

For general usage patterns, offline workflows, and daily operations, see the USDT Wallet documentation.